

Identify your hardware
Check compatibility
Measurements
Fitting overview
What you need
- Drill
- Screwdriver
- 4 mm (No.8) countersunk-head screws sized to suit the window profile; not supplied
-
Check the kit and choose suitable fixings
Before this step -
Align the restrictor body and stud plate
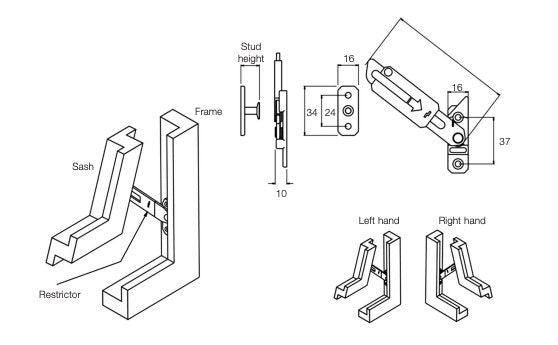
-
Fix into suitable material
Before this step -
Test the restrictor before considering fitting complete
Expected resultThe window stops at its restricted opening, releases with the key and re-locks when closed, as described in the supplied guide.
Completion checks
Open, release and re-lock the window
What you need
- Supplied Res-Lok key
-
Open the window to the restricted position
Expected resultThe window stops at the restricted opening. The source FAQ says the exact distance depends on the window size and where the restrictor is fitted.
-
Release the restrictor with the supplied key
Before this step -
Close the window to re-engage the restrictor
Expected resultThe restrictor re-engages on closing and the next opening stops at the restricted position.
Completion checks
Routine checks and maintenance
-
Check the fixings, engagement and key release
-
Keep the mechanism clean and moving smoothly
Completion checks
Troubleshooting
Buy this part
The replacement hardware covered by this guide. Check the identification and measurements above before ordering.
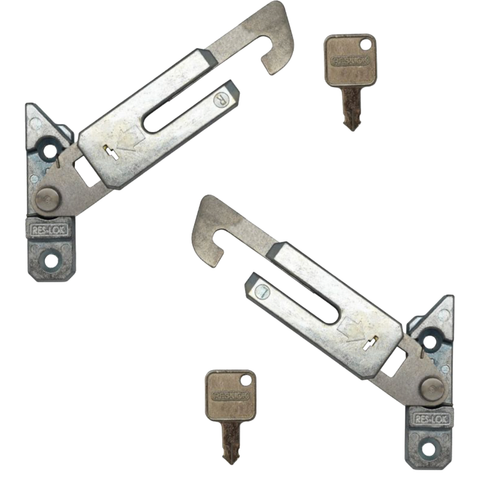
Need a hand identifying your part?
Send clear photographs of your window open and closed, the sash-to-frame gap and the restrictor. Ask for confirmation of compatibility, Left Hand or Right Hand selection, chosen pack quantity, or replacement keys. For care settings or escape-route windows, include that information when asking for help.